Lists documentation
Lists - Post Types engine documentation
Lists allow you to create repeated content based on the same template and automatically display them with components like the grid list. A list is a combination of 2 parts: the single item and the archive page the show all items, every item has a dedicated page. Lists are very easy to use and can be used for all your contents of the same type, for example, you can use a list to create: portfolio, team, blog posts, travels or everything you can imagine.
Create a Post Type with the Lists
This example shows you how to create, show and manage a list.
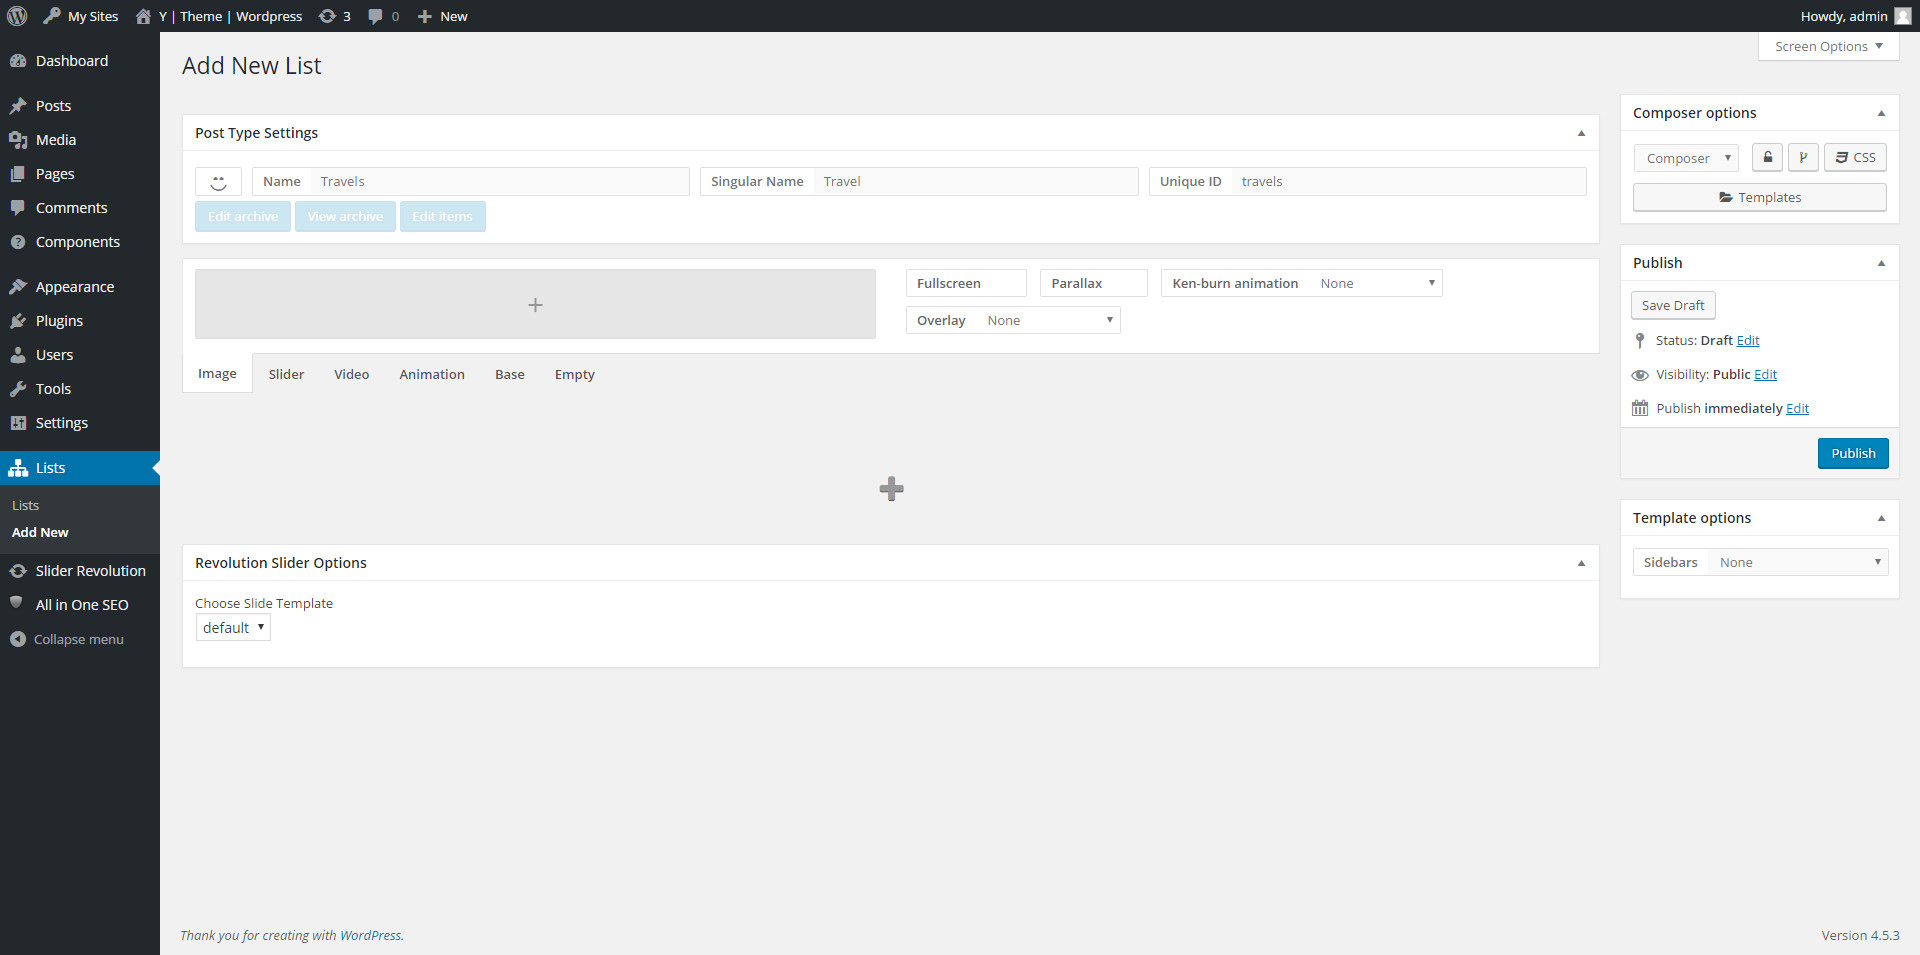
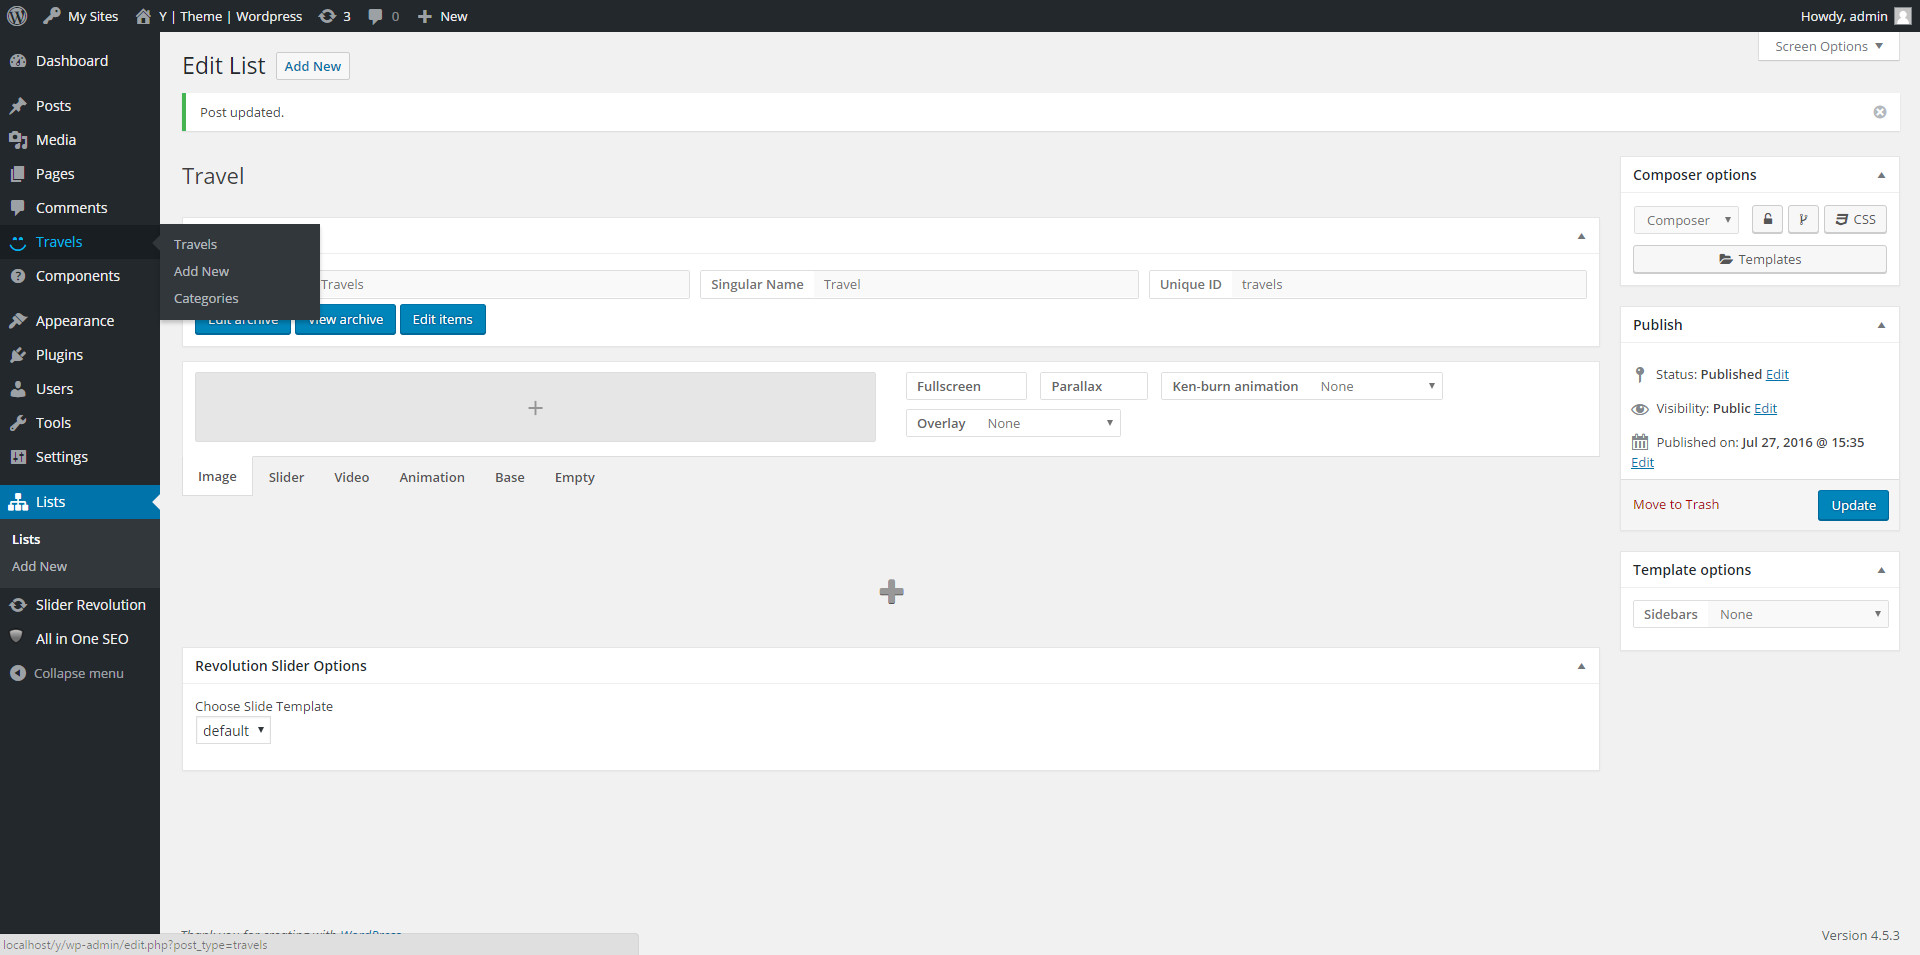
1. Create the Post Type
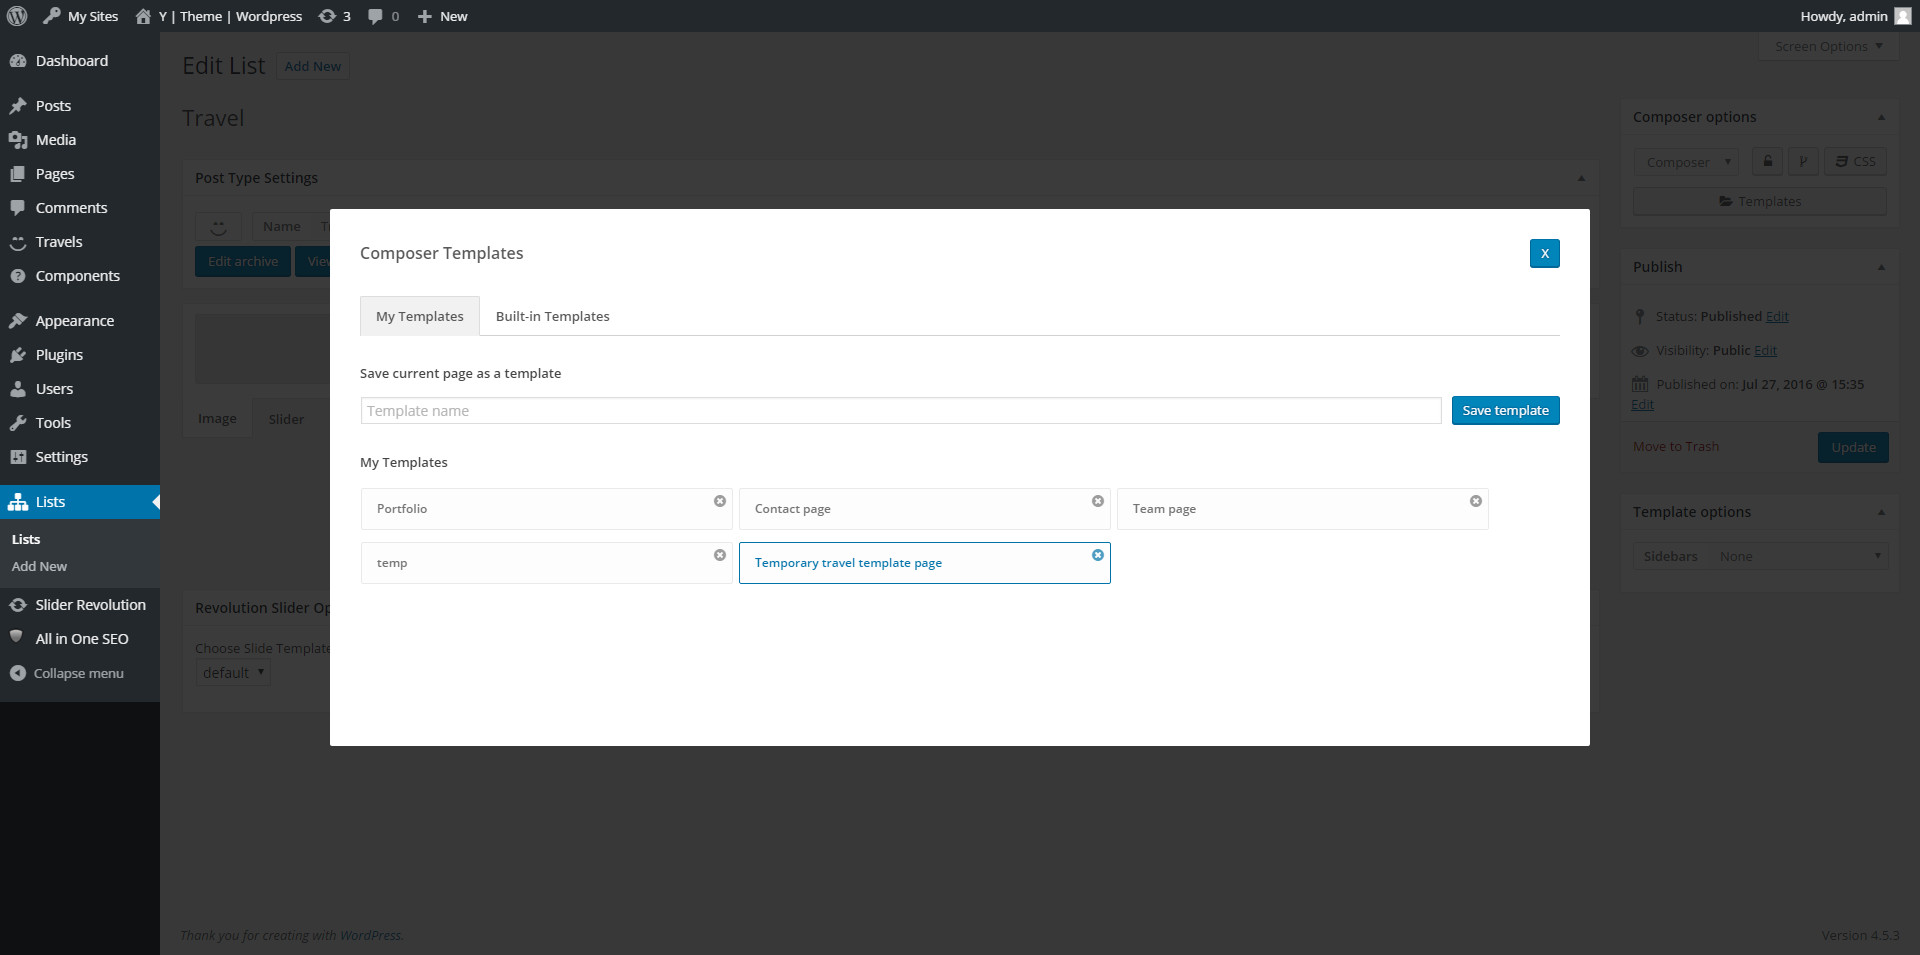
2. Create the item template
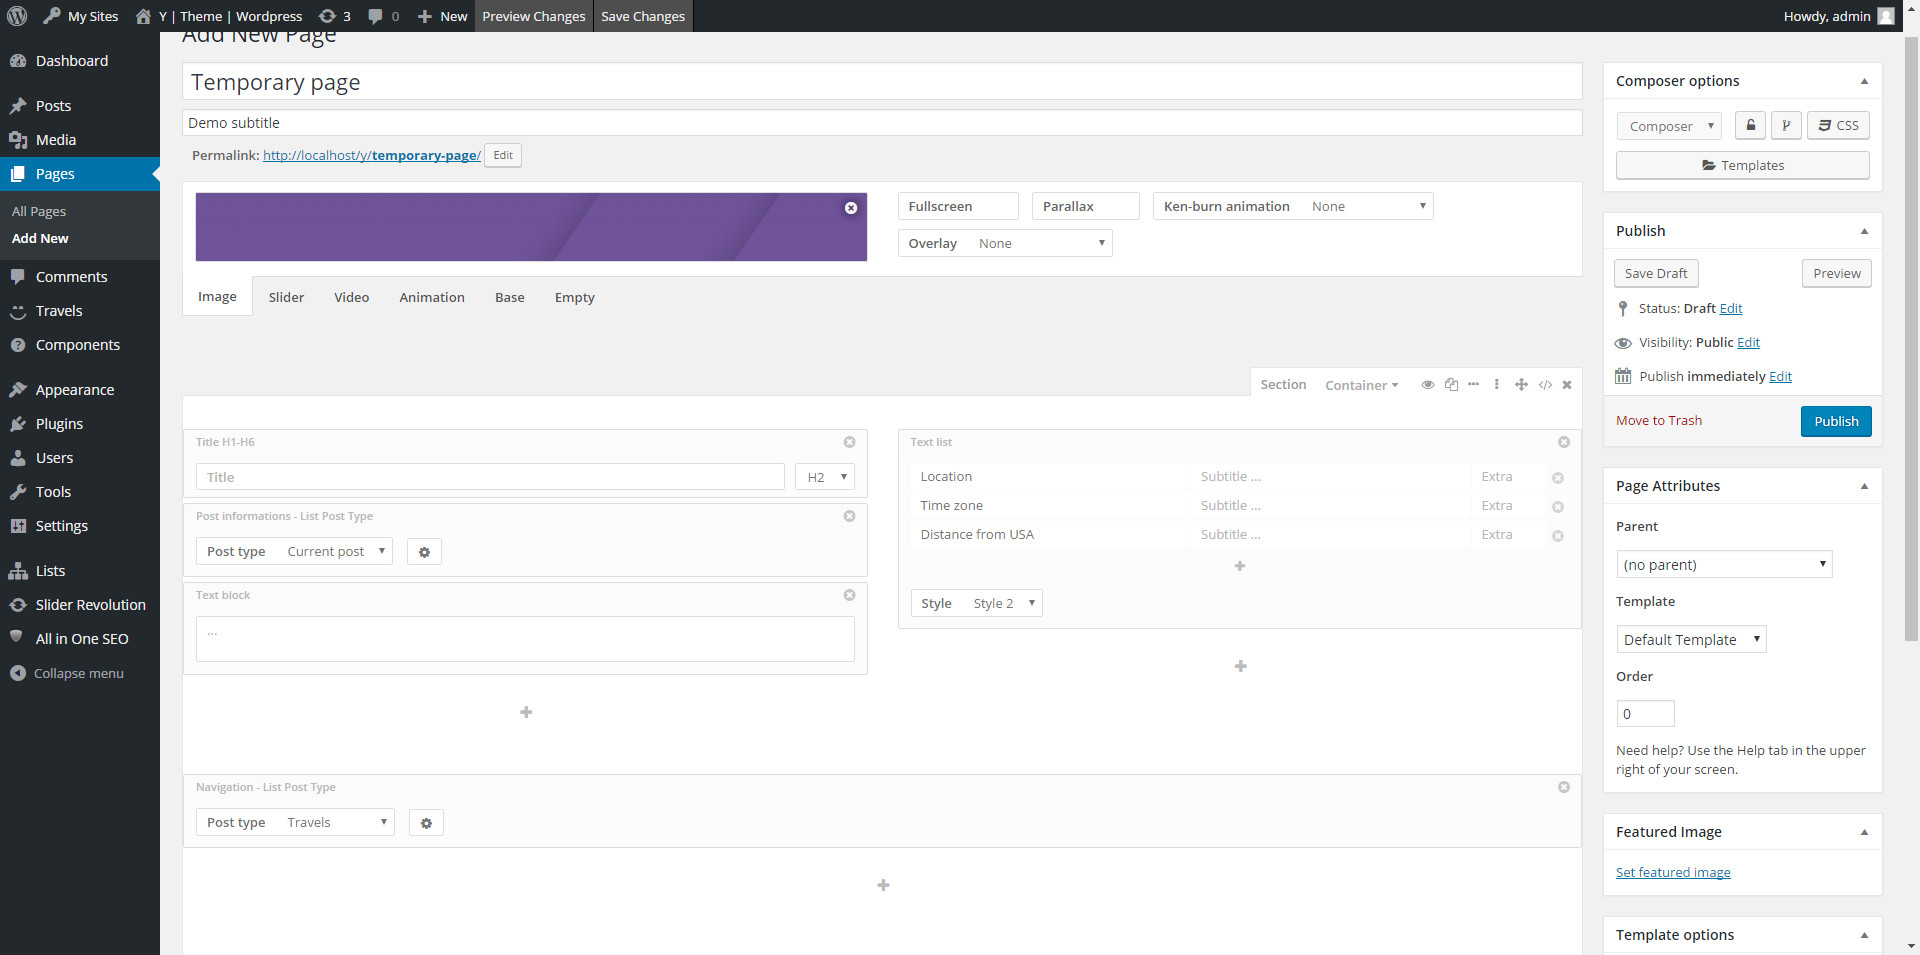
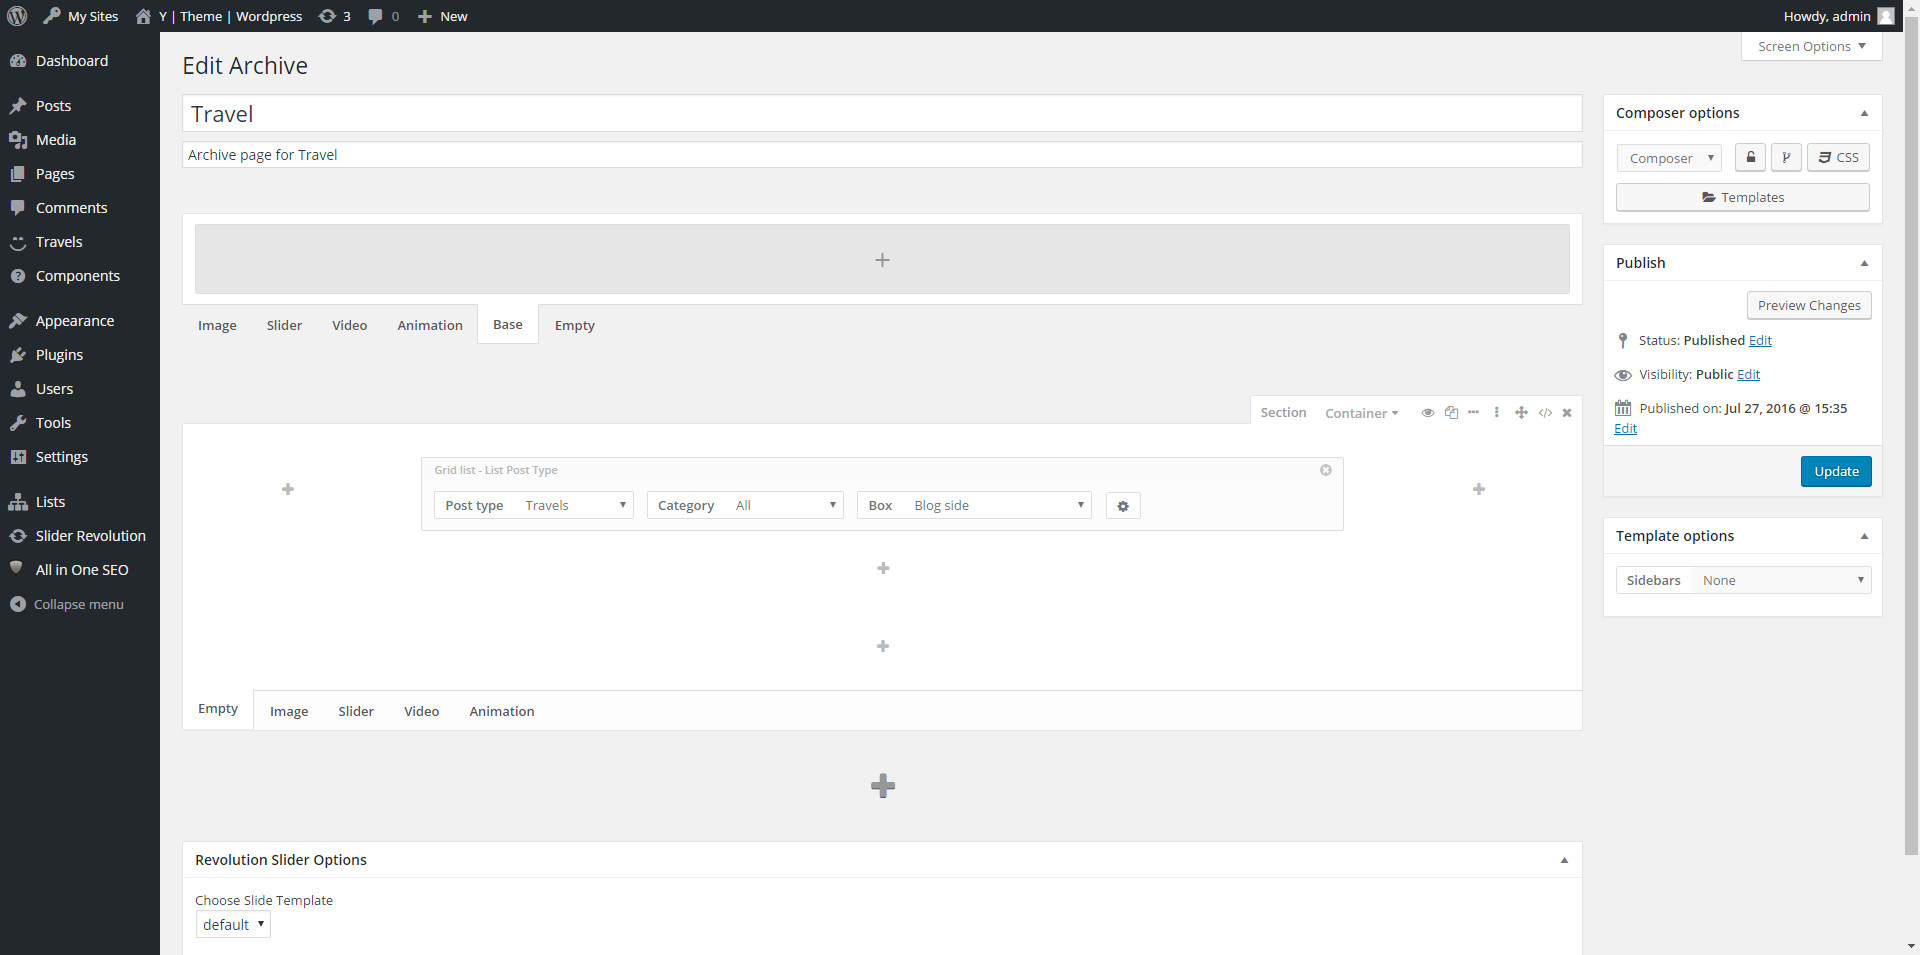
3. Create the archive page
4. Add the items
Lists components

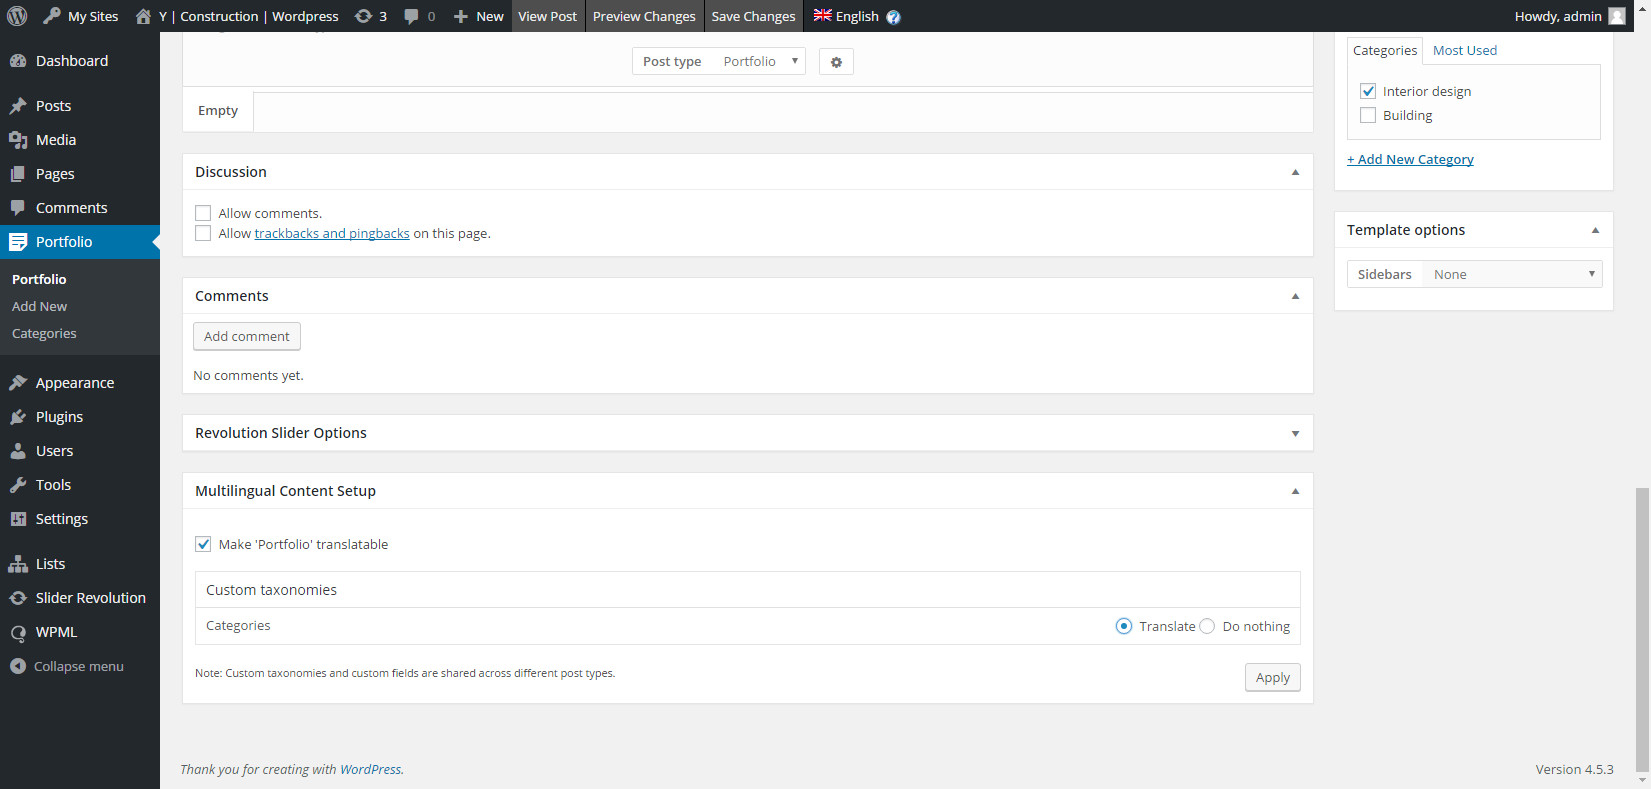
Translations
Translate the lists require WPML, go to translations documentation for more details.
If WPML is active, follow these steps to translate the lists:
If WPML is active, follow these steps to translate the lists:
Category translations
Options and extra
Custom content for single item
All items of your list are based on the same template but you can insert custom content for every single item. To do this, open the item you want to edit and click two times on the top right lock icon .
Delete and create again the Post Type
If there is an error or problem, you can delete a list and create it again. The items will not be deleted, but the new list must use the same ID.
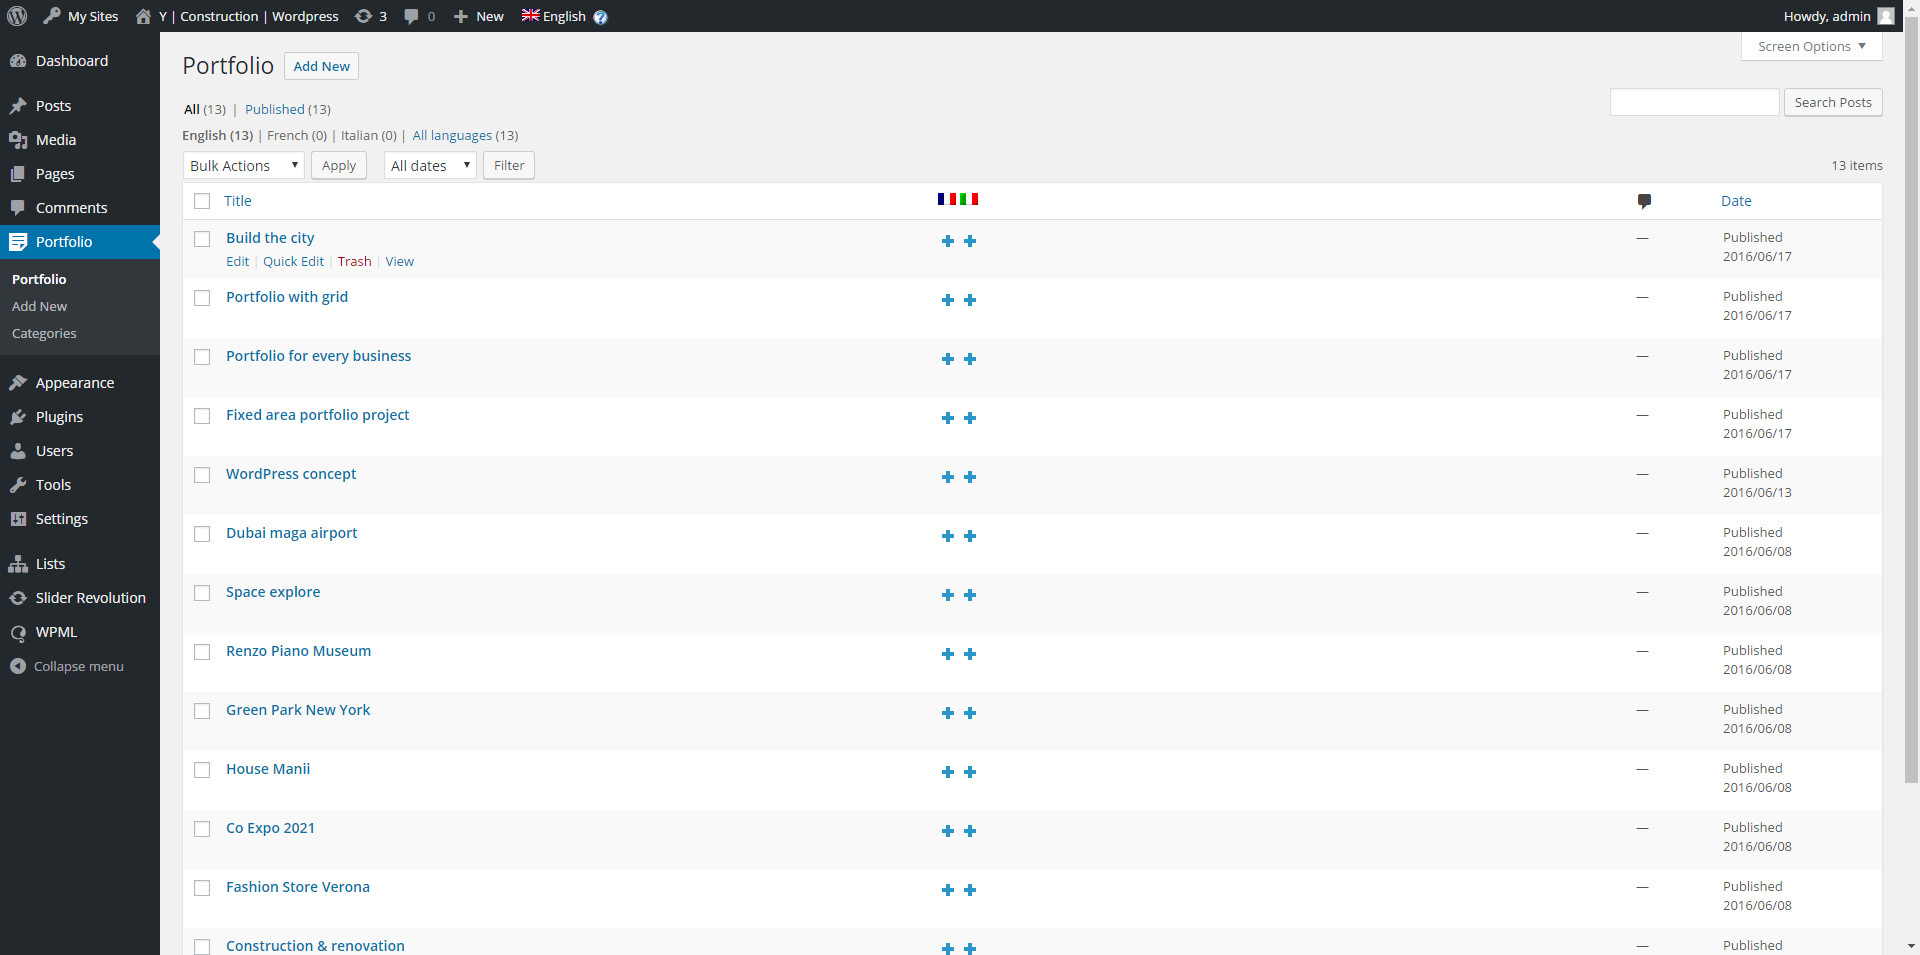
Categories
All lists support the categories. You can manage them from WordPress menu > Your list > Categories. To assign a category to a single item open the item and select the category on the bottom right box. You can select multiple categories. All post type components support the categories. If you get a Page Not Found error on category pagination, go to Settings > Reading and set the post numbers with number < 10.